Showing posts with label scrapbooking layouts. Show all posts

Thursday, March 8, 2018

March is National Craft Month

In my plans was to create a fantastic blog post about National Craft Month but I'm finding today that the stuffiness in my head from a cold is affecting my brain. National Craft month was started in 1994 by the Craft and Hobby Association (CHA) to encourage people to try their hand and crating and experience some of it's many benefits, including lowering stress levels.

Over the years, I've tried many types of crafts (in the early 90s: decorating teddy bears, cross stitching, latch hook, and later started card making, scrapbooking, sewing, paper/vinyl crafting, and crocheting). Some of the crafts I no longer do and wish I could find the pictures of my earlier creations so I can create a crafting through my life scrapbook.

Right now, my crafting time is taken with crocheting, scrapbooking and vinyl designs. Here are some pictures of a few of my recent projects:

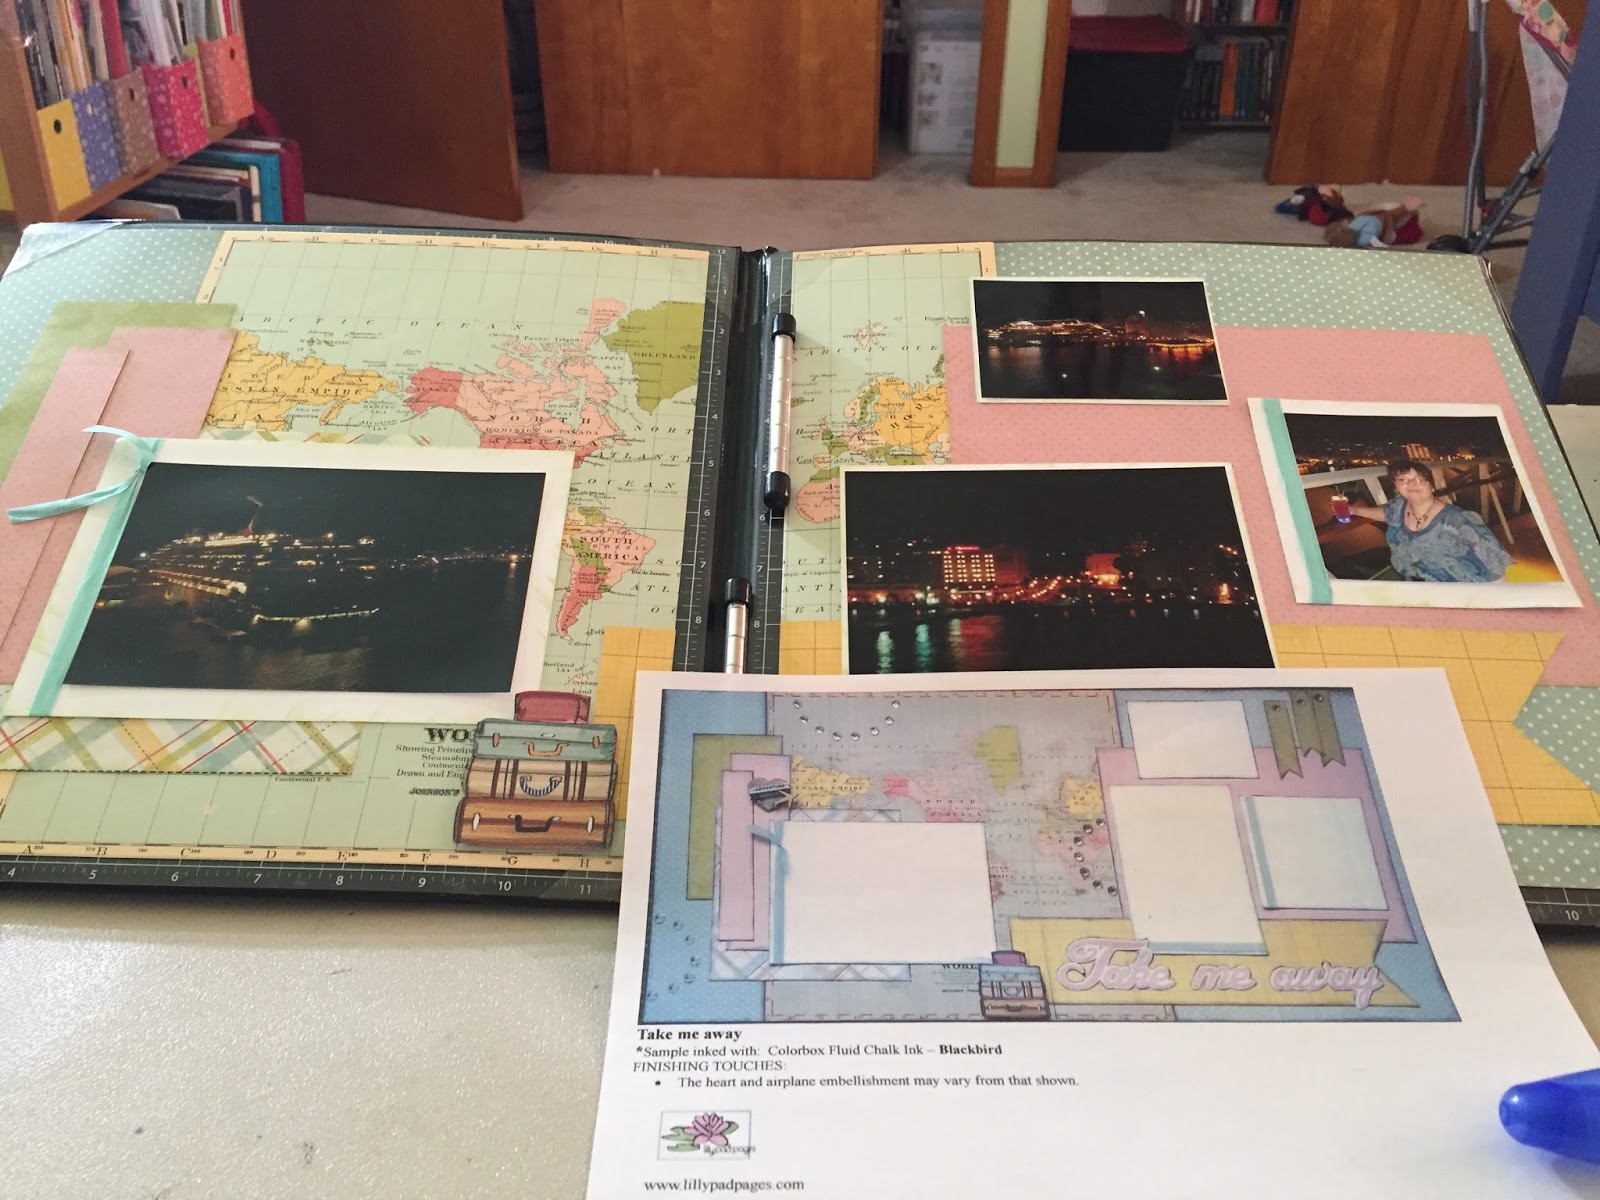
A layout for the anniversary album using a Lilly Pad Pages layout kit.

Decorated my Cricut with vinyl

Merboy tail. I had a request from a little guy for a boy tail as I had made his sister one (of course that meant he needed one of his own).

Thursday, February 1, 2018

The Lost Photos

There's nothing like moving your craft room to find those pictures you thought you had printed, then convinced yourself you imagined, only to discover those photos existed after all. I completed my daughter's childhood album (from birth to high school graduation) and was disappointed that her preschool graduation pictures disappeared.

 She had worn a graduation cap that was a similar color to her high school graduation cap and I wanted those pictures in her album. The pictures were not in the drawer I kept her photos in. I looked through her brother and sister's photo drawer and they weren't in there either. I gave up, figuring those photos only existed in my mind.

Two weeks ago, I was finishing making the move to my new office/scrapbook room. There was a three drawer plastic storage container I had avoided. Cleaning it out would be a huge undertaking as it was a hodgepodge of newspapers, brochures from places we traveled, formal pictures from proms, yearly school pictures, and anything else I had deemed save-worthy at one time but had no official place to store them.

Among the newspapers I was saving were the black and white photos I had printed of her preschool graduation. Somehow, those pictures got mixed up into my where-should-I-put these sorting pile. Since I had to rearrange the pages in the album (an easy task since I use a three-ring binder and found another set of pictures that required a scrapbook page), I chose a color scheme that blended well with the layout that has her preschool diploma.

Thursday, January 4, 2018

Top 5 Crafting Moments

Happy New Year! It's 2018. 2018. For some reason that number really hits me and I'm not sure why. It seems like a year I couldn't imagine when I was a child and here it is. Stretched out before me. I'm trying to see the possibilities for all those days and reviewing what worked didn't work, and I wanted to try again from last year. In 2017, I decided to make crafting one of my goals. I realized I didn't spend much time on one of my favorite activities, so added crafting once a week onto my list.

In the beginning of the year, I was good at keeping track, and actually crafting every week, but faltered every now and then on that goal. I enjoyed making crafting a priority and am adding it back on my list. I've already received one request on something to make: a crocheted shark tail/or mermaid tail in blues/silvers/grays.

I tried some new crafts, finished some projects, and found an activity that my oldest and I could enjoy together. For this post, I'm going to share my Top 5 Crafting Moments.


Number 1. This project holds a special place in my heart as it's the first painting from a class I took with my eldest. We enjoyed the class so much, it is now our mother-daughter activity and we try to attend one paint session a month.

Number 2. Wine glasses decorated with vinyl for a Christmas gift for my daughter. She is a huge Harry Potter and I wanted to create something that tied in with her love for Harry Potter. I was a little nervous making them as I hadn't ever placed vinyl on a curved surface. She loved them!

Number 3. My second most time-consuming layout that I made in 2017. The pictures are from a trip we took in 2015. It took about 5 1/2 hours to complete the layout, a little more time than I usually spend on a double page spread, but I loved how it turned out. I wanted to create a layout that could double as a framed art piece if I decided to hang it on the wall.

Number 4. The most time consuming layout I made in 2017. This was kit from a class I took at the Killer Krops retreat in April. It took about 8 hours to piece together all the die cuts...some of the pieces were tiny. It would've taken me longer if I had to cut everything out myself but the amazingly talent instructor had cut out all the pieces. The cost of the class was worth it just not having to cut out all the die cuts myself.

Number 5. I was taking two of my favorite people in the whole wide world trick-or-treating at the mall and didn't have any trick-or-treat bags for them so I sewed up a couple. I made them reversal so the bags could be used later for other activities. I made the pattern myself and realized after sewing the first together that I forget to account in for the seam allowance so the bags weren't as wide as I wanted. It didn't matter as the children loved their bags, Spider-Man preferred his with the super heroes showing rather than the Disney Halloween fabric.

Thursday, November 2, 2017

Page Kit--Stage Two: It's All About the Paper

This week I'm going to show stage 2 of my process of making page kits. The second step is choosing the paper for the layout. The first thing I do is gather up the paper that will work with for the page (or in this case album). Since I have a storage container for vacation paper and embellishments, it wasn't that hard to gather up the best choices. Since the album is our cruise to the Caribbean, I picked out cardstock and pattern paper colors that complemented the blues, greens, and light browns that were in many of the pictures. I also pulled out some paper with silver in it as this was a trip for our 25th anniversary and I wanted to mix that color into some of the layouts.
Some of the paper choices
I separated the photos from our first port stop, into five categories: first views of the island, beach, snorkel excursion, behind the scenes, and landscapes. The first picture category I worked with were the first views (leaving boat). I had some paper with the Royal Caribbean logo and really wanted to use it for as the first, Labadee, Haiti, is the private beach for Royal but it wasn't working for the photos. I glanced over at the behind the scenes pics (testing the life boats, tram, preparing for lunch) then looked a the RC paper. The colors went well together. I set the first view pictures aside and placed the behind the scene photographs on it. Perfect.


Next, I pulled out some new choices for the first view layout and loved how the blues popped when placed on the light green paper. The light beige strip was part of the pattern paper design and worked perfectly to mat a few of the photos. I had a shade of beige cardstock that matches the beige on the pattern paper and will use that to mat photos on the first page of the double page spread.


After all the paper choices are made, I label a sticky note with the day of the trip (Haiti was Day 4) and any title ideas then place it into a 2 gallon bag.


Next week it'll be all about the embellishing.


Thursday, October 26, 2017

Page Kit--Stage One: Photo Sorting

I found my 2-gallon Ziploc bags so I was able to start putting together page kits on Monday. The first part of my process is to sort out the photographs. Since the project I'm working on is a cruise we took for our anniversary, I made piles for the days of the cruise (10) and then divided into morning, afternoon, and night. If we bought from that evening, I placed it at the top.

In the day's section, I included any memorabilia that I had for the activities of that day. The third pile in the first photograph has the hat I wore at the Sushi class I attended and my class certificate (which for some reason they had put my husband's name on). After sorting through the 100+ pics I had printed, I realized there were some excursions missing: rain forest, trip to Christmas and Honeymoon Coves, and in reading through my travel journey, I hadn't printed out any photographs from the towel folding or Thomas Kinkade seminar.

The next part of the process is jotting down any activities that are missing pictures or don't have enough pictures for a layout, like for the wine tasting. When I first printed out pictures, I eliminated any choices that were blurry or were "boring". Since I didn't have many pics for a layout, I was willing to not be so picky in the pictures I selected. I'd rather have okay pictures than none. We didn't take any pictures during the Thomas Kinkade, so I'll just note it on our title page and in the journaling for that day.

The final step of stage one is to place all the photos in a Ziploc bag in preparation for stage two of kit making. The next task will be dividing the days photographs into layouts and picking out cardstock and pattern paper.


Next week's blog post: Page Kit--Stage Two: It's All About the Paper


Thursday, May 4, 2017

May the Fourth Be With You

Happy May Fourth to all the Star Wars out there...and everyone else. I'm not sure when May 4th became known as Star Wars day but every year on the Disney boards I frequent the day is celebrated with Star War themed memes and pictures of people in Star Wars inspired attire.

Since May is also National Scrapbooking Month, I decided to share a few of my Star War themed layouts from when we went to a character dining at Hollywood and Vine. I took a ton of pictures at the event (actually I was snap happy for the whole week long trip) and used some overlays for quick pages.

I wanted to add more pictures without making more layouts as the scrapbook is getting rather thick so I used Flip Flaps (made by Close to My Heart) to add extra pictures to the pages. The most difficult part of using the Flip Flaps was to remember to adhere them to the page protector and not the cardstock/pattern paper.
Left Side Flap Down

Right side Flap Down
Left Flap Up

Right Flap Up